
Before you Purchase:
Features
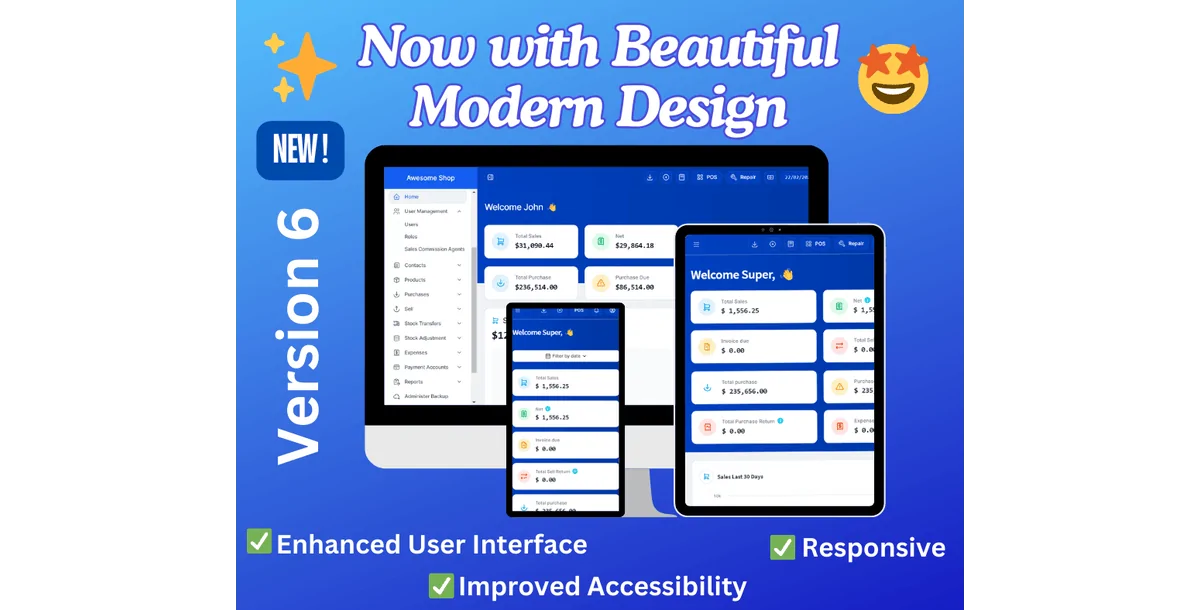
Installation
Adding a Project
To add a new project, follow the steps given below
Step 1: Go to Projects Tab and click the New Project button.
Step 2: Enter the required details.
Step 3: Click the Save button.
Adding Tasks for a Project
Once the project is created, you can add a task for that project.
Step 1: In the Projects Dashboard, click the Actions dropdown button present next to each Project name.
Step 2: Select the tasks option in the dropdown, it will take you to the Tasks tab.
Step 3: Click the Add button to add a task to that project.
Adding Time Log for a Task
Next to the tasks tab, there is Time Log tab. Here you can add time log for each task
Step 1: Go to Time Logs Tab and click the Add button.
Step 2: Enter the required details.
Step 3: Click the Save button.
Adding Documents for a Project
Any documents or notes relevant to the project can be added.
Step 1: Go to Documents & Notes Tab and click the Add button.
Step 2: Enter a suitable heading and upload the required file.
Step 3: Click the Save button.
NOTE: If you want to restrict the visibility to other users, you can enable the “Is Private” checkbox.
Creating Invoices for a Project
Invoices can be created for project based on tasks done for that project.
Step 1: Go to Invoices Tab and click the Add button.
Step 2: Enter the required details.
Step 3: Click the Save button.
Project Settings
Enabling the permission for adding Time log, Invoices, Documents for project can be set in Settings Tab.
Subscribe to access unlimited downloads of themes, videos, graphics, plugins, and more premium assets for your creative needs.
Published:
Oct 23, 2024 09:20 PM
Version:
Category:
Tags: